
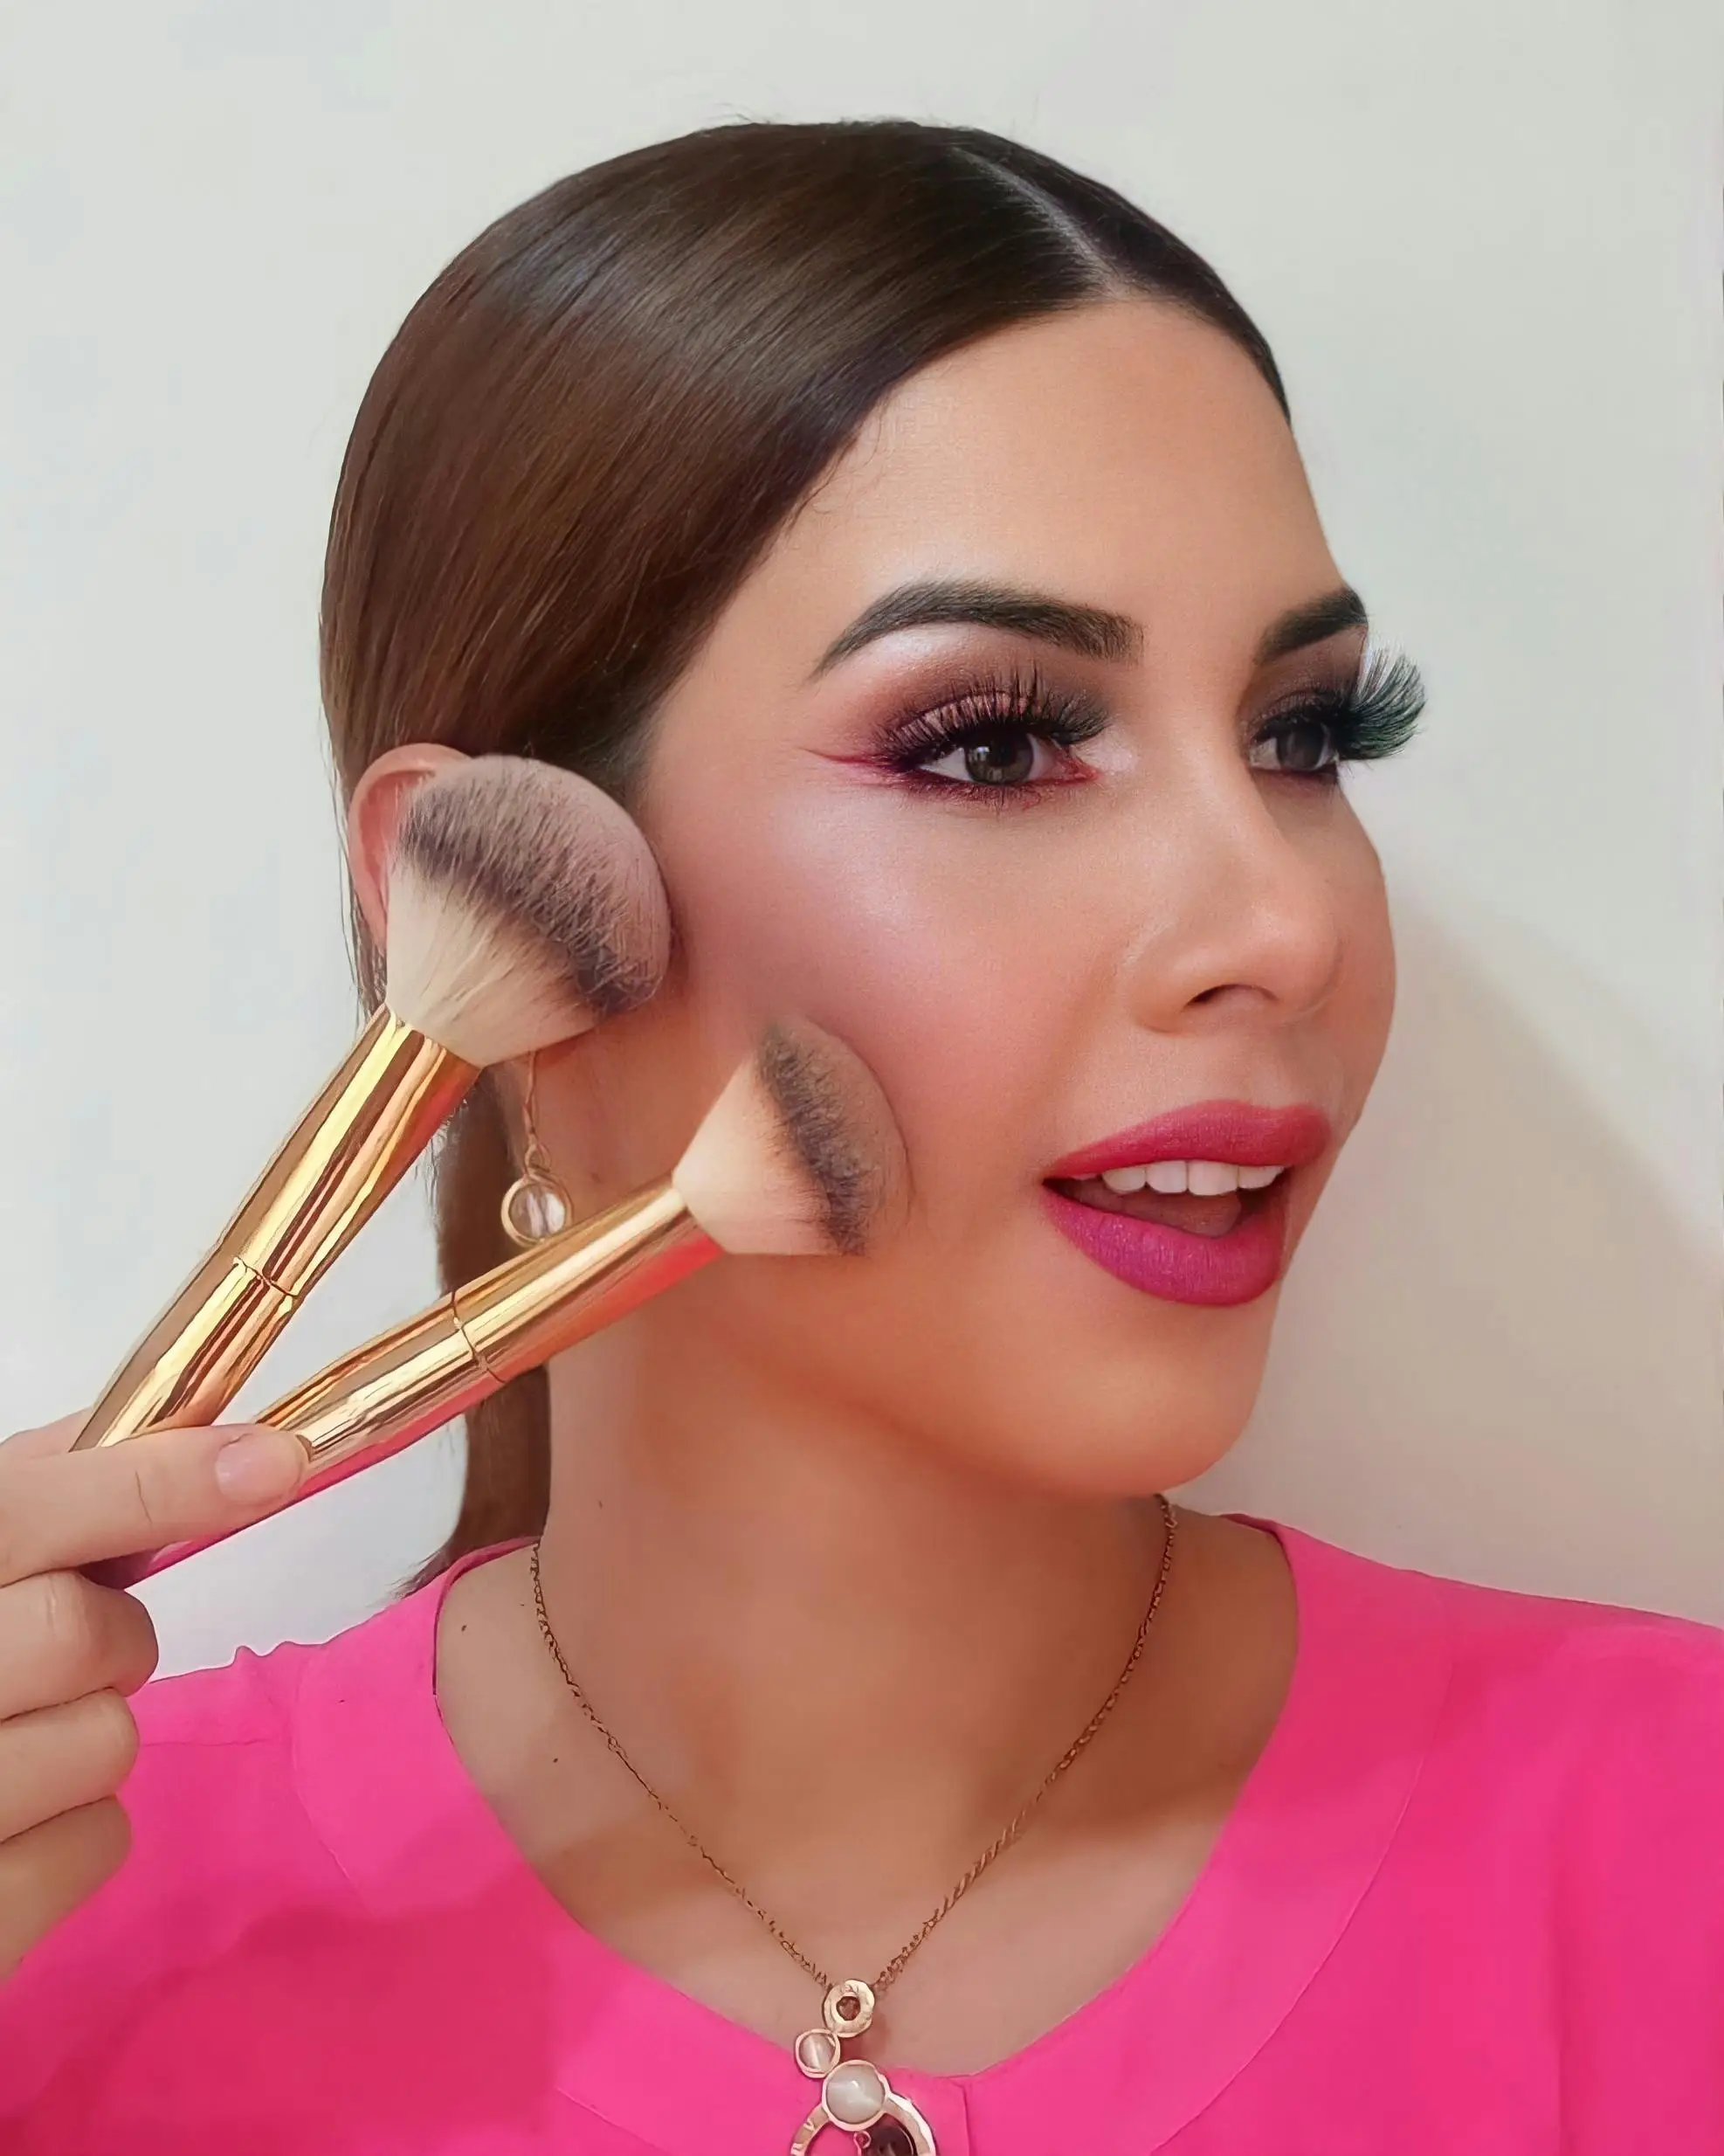
In the intricate artistry of makeup, there’s an undisputed truth: a truly flawless base is the canvas upon which every stunning look is built. No matter how intricate your eye makeup or how bold your lip color, if your foundation and concealer aren’t seamless, the entire effect can fall flat. A well-executed base creates the illusion of naturally even, healthy-looking skin, diminishing imperfections and providing a smooth backdrop for the rest of your artistry. But achieving this often feels like an elusive quest, especially with the myriad of formulas, shades, and application techniques available.
The challenge intensifies when considering the vast spectrum of skin tones, each with its unique undertones and complexities. Picking the perfect foundation and concealer isn’t just about matching the surface color; it’s about understanding the subtle nuances that make your complexion truly unique. Getting it wrong can result in an unnatural, mask-like appearance, a ghostly pallor, or an unflattering orange cast.
This comprehensive masterclass is designed to demystify the art of creating an impeccable base for everyone, regardless of their complexion. We’ll delve deep into the science of skin tone matching, guide you through selecting the ideal product formulas, and reveal professional makeup techniques for seamless foundation application and concealer application. Prepare to transform your approach to complexion products, unlocking the secrets to a naturally radiant, truly flawless base that enhances your natural beauty.
I. Understanding Your Skin Tone & Undertone: The Crucial First Step
Before you even touch a product, mastering your skin tone matching skills begins with a fundamental understanding of two key concepts: your skin tone and, more importantly, your undertone.
- Skin Tone (Surface Color): This is the obvious color you see – fair, light, medium, tan, dark, deep. It can change with sun exposure.
- Undertone (The Hue Beneath the Surface): This is the subtle color beneath the surface of your skin that never changes. It’s the critical factor for finding the “perfect foundation” that truly blends seamlessly. There are three main undertones:
- Cool Undertone: Your skin has hints of pink, red, or bluish hues.
- Warm Undertone: Your skin has hints of yellow, golden, or peachy hues.
- Neutral Undertone: Your skin has a balance of both warm and cool tones, or no obvious dominant hue.
How to Identify Your Undertone:
- The Vein Test: Look at the veins on your inner wrist in natural light.
- If they appear blue or purple, you likely have a cool undertone.
- If they appear green or olive, you likely have a warm undertone.
- If you can’t tell if they’re blue or green, or if they seem to be a mix, you might have a neutral undertone.
- The Jewelry Test: What jewelry best complements your skin?
- Silver jewelry looks best on cool undertones.
- Gold jewelry looks best on warm undertones.
- Both look good on neutral undertones.
- The White Paper Test: Hold a pure white piece of paper next to your bare face in natural light.
- If your face looks pinker or rosy against the white, you’re cool.
- If your face looks more yellow or golden, you’re warm.
- If you see neither, you’re neutral.
- Sun Reaction: How does your skin react to the sun?
- If you burn easily and rarely tan, you might be cool.
- If you tan easily and rarely burn, you might be warm.
Knowing your undertone is paramount for avoiding that dreaded orange, ashy, or too-pink foundation.
II. Selecting Your Perfect Foundation: Shade, Formula, and Finish
Once you know your undertone, the hunt for the perfect foundation becomes much easier.
A. Matching the Shade:
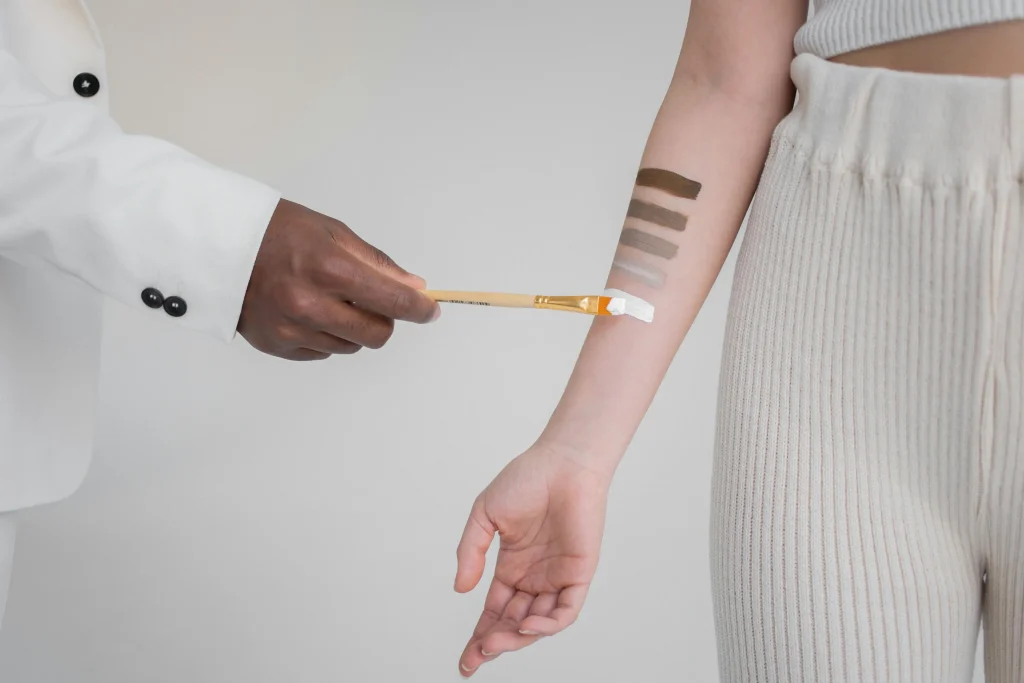
- Test on the Jawline: Never swatch on your hand or wrist, as these areas often have different tones than your face. Apply a few stripes of different shades along your jawline, blending slightly.
- Check in Natural Light: Department store lighting can be deceiving. Step outside or near a window to see how the shades truly look. The shade that disappears into your skin is the correct one.
- Allow to Oxidize: Some foundations can darken slightly once they interact with your skin’s oils and air (oxidize). Give the shade 10-15 minutes to settle before making a final decision.
B. Choosing the Right Formula for Your Skin Type:
- Dry Skin: Look for hydrating, dewy, or radiant finish foundations. Liquid, cream, or stick formulas with ingredients like hyaluronic acid, squalane, or nourishing oils will provide moisture and prevent cakiness.
- Oily Skin: Opt for matte, oil-free, or long-wearing formulas. Liquid or powder foundations are usually best. Look for words like “mattifying,” “oil-controlling,” or “long-wear” on the label.
- Combination Skin: A satin finish is often ideal, providing a balance. You might choose a liquid foundation that offers adaptable coverage or use a mattifying primer on oily areas.
- Sensitive Skin: Mineral foundations (containing zinc oxide or titanium dioxide) are often less irritating. Look for fragrance-free, non-comedogenic formulas.
- Mature Skin: Hydrating, radiant, or satin finishes are usually best to avoid settling into fine lines. Avoid heavy matte formulas.
C. Coverage Levels:
- Sheer Coverage: Evens out skin tone slightly while letting natural skin show through. Ideal for those who want a “no makeup” look.
- Medium Coverage: Evens out most imperfections, redness, and minor discolorations while still looking natural. Buildable.
- Full Coverage: Provides maximum coverage for significant imperfections, acne, hyperpigmentation, or for a very dramatic makeup look.
III. Mastering Concealer: Correct, Cover, Brighten
Concealer is your secret weapon for targeted perfection, offering the ability to correct discoloration, cover blemishes, and brighten specific areas.
A. Types of Concealer:
- Liquid Concealer: Most versatile, ranges from sheer to full coverage. Best for under-eyes and general spot concealing.
- Cream Concealer: Thicker, more pigmented, medium to full coverage. Excellent for blemishes and significant discoloration.
- Stick Concealer: Convenient, medium to full coverage. Can be good for quick touch-ups or concealing isolated spots.
B. Matching the Shade for Different Purposes:
- For Blemishes/Redness: Choose a concealer that exactly matches your “perfect foundation” shade and undertone. Applying a lighter or darker shade will only highlight the imperfection.
- For Under-eyes/Brightening: Select a concealer 1-2 shades lighter than your foundation, often with a peachy or yellow undertone. The lighter shade illuminates, and the warm undertone helps to color correct blue/purple dark circles.
C. Color Correcting Explained:
“Color correcting” uses contrasting colors on the color wheel to neutralize discoloration before applying concealer or foundation. This prevents a grayish or ashy cast.
- Green: Neutralizes redness (e.g., pimples, rosacea, broken capillaries).
- Peach/Orange: Neutralizes blue or purple tones (e.g., dark under-eye circles on fair to medium skin; use deeper orange for deeper skin tones).
- Yellow: Brightens dullness and can neutralize mild redness.
- Lavender: Brightens sallowness or yellow tones.
IV. Application Techniques for a Seamless Finish
The right tools and techniques are crucial for professional-looking foundation application and concealer application.
A. Prep is Key:
- Always start with a clean, moisturized, and primed face. Primer creates a smooth canvas, helps makeup last longer, and can address specific concerns (oil control, hydration, blurring).
B. Tools for Foundation Application:
- Damp Beauty Sponge: Provides a natural, dewy finish. “Bounce” the product onto the skin, don’t drag. Best for liquid and cream foundations.
- Foundation Brush:
- Flat Top/Kabuki Brush: For medium to full coverage with a buffing motion.
- Stippling Brush: For a sheerer, airbrushed finish with a light tapping motion.
- Flat Brush: For precise application or full coverage.
- Fingers: The warmth of your fingers can help melt the product into the skin for a very natural finish, especially for sheer to medium coverage.
C. Concealer Application Techniques:
- For Blemishes: Apply a tiny dot directly onto the blemish. Gently tap and blend the edges with a small brush, sponge, or your ring finger. Build coverage in thin layers.
- For Under-eyes: Draw an inverted triangle under your eye, with the base along your lash line and the point extending down towards your cheek. This lifts and brightens the entire area. Gently tap (don’t rub) to blend.
- For Highlighting: Apply a lighter concealer to the bridge of your nose, center of your forehead, Cupid’s bow, and chin to bring light to these areas.
D. Setting Your Base:
- Powder: Use a translucent setting powder, especially on oily areas (T-zone) or under the eyes, to set foundation and concealer, prevent creasing, and control shine. “Baking” involves applying a thick layer of powder, letting it sit, then dusting off excess for an ultra-matte, long-lasting finish.
- Setting Spray: A mist applied after all makeup is done helps to melt powders into the skin for a more natural look and significantly extends wear time.
V. Troubleshooting Common Base Issues
Even with the best techniques, challenges can arise.
- Caking/Creasing: Too much product is usually the culprit. Apply thin layers and set with a light hand, especially under the eyes. Use a hydrating primer.
- Oxidization: If your foundation turns orange, it’s oxidizing. This could be due to your skin’s oils, a poor match, or an unstable formula. Try a different formula or a shade with a cooler undertone.
- Dry Patches: Exfoliate gently and ensure your skin is well-hydrated with moisturizer before application. Use hydrating primers and dewy foundations.
- Foundation Separating: This can happen due to incompatible formulas (e.g., water-based foundation over oil-based primer) or inadequate skin prep. Ensure products are compatible and skin is moisturized.
Conclusion
Creating a flawless base is the cornerstone of any beautiful makeup application. It’s not about masking your natural skin but perfecting its appearance, allowing your inherent radiance to shine through. By mastering the art of skin tone matching, selecting the perfect foundation and concealer for your unique needs, and employing precise makeup techniques for foundation application and concealer application, you gain the power to transform your complexion.
Remember, practice makes perfect. Experiment with different formulas and tools, pay attention to your skin’s reactions, and most importantly, enjoy the process. With the knowledge gained from this masterclass, you are now equipped to achieve that coveted smooth, even, and truly flawless canvas every single time, enhancing your confidence and empowering your entire makeup look.
Leave a Reply